5. HDR Imaging and Advanced Lights
In this version of the ray tracer, three features are added. First one is advanced lightning. Up until now, we only had point and ambient lights in our scenes. In current version of the ray tracer we will also support directional lights, spot lights, area lights and environment lights.
Second feature is HDR (High-dynamic-range) Imaging. In the earlier versions, we were clamping the pixel values to 255 to be able to display the image on a regular display device. In the current version, not only writing to an HDR image, but also reading from one is supported.
Lastly, tonemapping feature is added. Tonemapping is used to make HDR images displayable on a low dynamic range display device.
5.1. Added Features
5.1.a. Directional Lights
Directional ligths are only defined by their direction and radiance. They are just simply a point light that is infinitely far away from the scene. You might consider Sun as a directional light source.
Directional lights, of course doesn’t have a position and we do not apply attenuation to this type of light source. If you consider Sun as a directional light source, since the attenuation is really low in space, we can neglect it. In my opinion, directional lights are the coolest looking light sources.
5.1.b. Spot Lights
Spot lights are very similar to point lights. Only difference is that point lights illuminate in every direction, whereas spot lights are concentrated on a direction. We define two angles for spot lights. One of them defines the range of any contribution while the other one defines the range of full contribution. Since they are concentrated on a direction, we also define a direction for this type of light.
Since they behave similar to the point ligths, we also define a position and an intensity for them.
This type of light is my third favorite light source. They remind me the famous Luxo Jr. Since we have added this type of light source, maybe we can find a model for Luxo Jr and just put a spot light inside the model.
5.1.c. Area Lights
Area lights are defined by a position, size, radiance and a direction. Actually, area lights don’t have a direction. They illuminate all directions. However, in order to place them into our three dimensional scene, we have to specify a direction since a position and an area wouldn’t be enough.
In order to calculate the contribution of an area light on a point in the scene, we take a sample on it and treat it like a point light. Then, we integrate it over the whole area. This integration is really simple since radiance is same at every point on the area light.
5.1.d. Environment Lights
Environment lights are very different than other type of lights. First of all, they don’t have a position, direction, intensity etc. They are only defined by a single HDR image.
Their effect is also very different than other type of lights, they kind of put our scene in an environment. For example, if your environment light represents a night time in a city, your objects will have the city lights on their surfaces. This increases the realism significantly.
I really like the effect of this light source and if I wasn’t huge fan of directional lights, I would say that environment lights are my favorite light sources. But I have to put them in the second position.
5.1.e. HDR Imaging
In the earlier versions of the ray tracer, we were clamping the pixel values to 255. We did this, because we wanted our images to be displayable on a regular display device. However, this clamping actually removes huge amount of detail in our image.
Clamping to 255 is not the only thing that reduced the detail in our image. We were having 8-bit values for our pixels and we had 256 distinct values for each channel. If we used floating point, then we would have many more values to represent our channels and this would increase the details in our images.
With the support for HDR imaging, we will not stop clamping our values to 255 and we will start using floating point for them. We will be able to read HDR images since we are going to use them as a texture on an object or an environment light source. We will also be able to write HDR images since we want more detailed results. These HDR outputs can be displayed on an HDR display device or they can be tonemapped and then display on a regular device.
5.1.f. Tonemapping
It is not possible to display HDR images on regular devices since their channel values exceed the range of the display device. One solution would be to just clamp the values to fit them into our regular display devices but this would decrease the details in the image significantly.
Second solution is to use tonemapping. Tonemapping is an operation to convert high dynamic range image into low dynamic range. This operation tries to make this convertion with the lowest possible loss in the detail of the image. I tried to implement a global tonemapping operator. In a global method, we try to find an optimal function which we will use to map every pixel with it.
With the help of this operation we will be able to display HDR images on our display devices.
5.2. Resulting Images
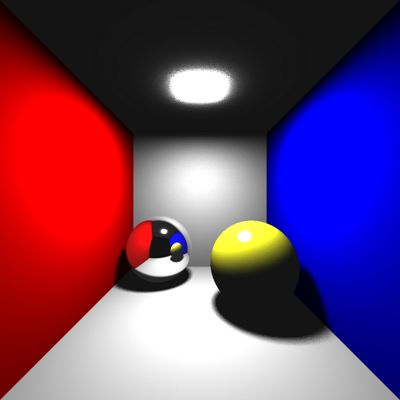
Figure 5.2.1: cornellbox_area scene. Render time: 0m28,153s Sample count: 100
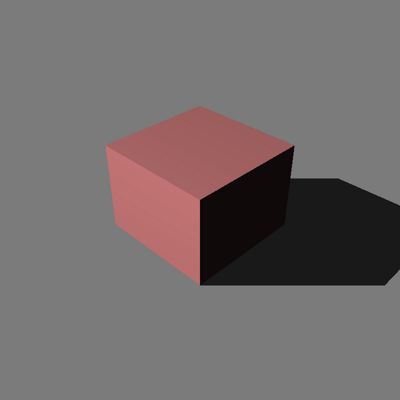
Figure 5.2.2: cube_directional scene. Render time: 0m0,668s Sample count: 1
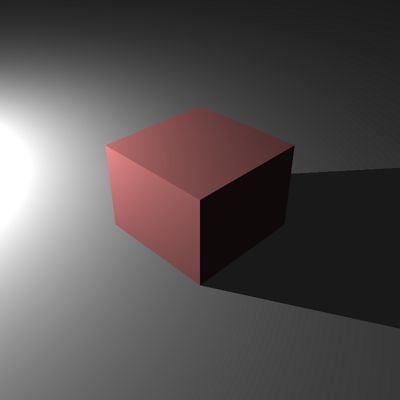
Figure 5.2.3: cube_point scene. Render time: 0m0,679s Sample count: 1
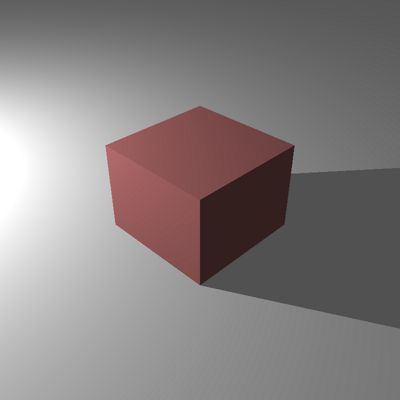
Figure 5.2.4: cube_point_hdr scene. Render time: 0m0,320s Sample count: 1
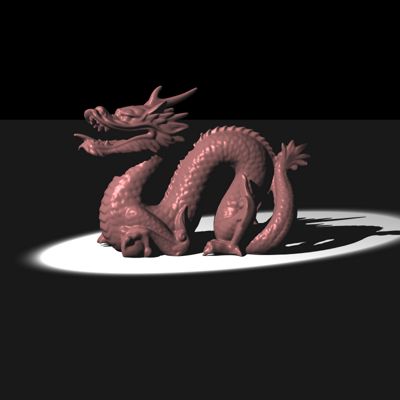
Figure 5.2.5: dragon_spot_light_msaa scene. Render time: 1m2,212s Sample count: 100
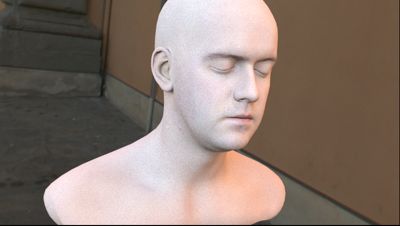
Figure 5.2.6: head_env_light scene. Render time: 7m37,505s Sample count: 900
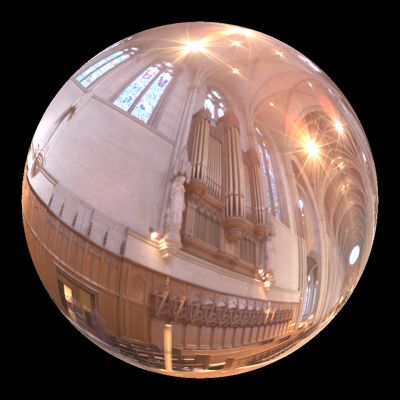
Figure 5.2.7: sphere_point_hdr_texture scene. Render time: 0m0,668s Sample count: 1
5.3. Bugs and Fixes
There are three bugs that I encountered in the implementation of the current version.
First one is about area lights. Area light class is an abstract class which has derived classes for each type of light. Area light is one of them. As mentioned above, (5.1.c) we take a sample on area light to find the contribution of the whole area. I somehow thought that it would be a good idea to put this sample point as a vector in the private field of the class. I thought that I would prevent the creation and destruction of this variable many times and it would be good for the performance. However, since we have multithreading in our ray tracer, this single vector will be a shared data among these threads. Therefore, a race condition happens. One of the threads takes a sample and then while it is doing its shading computation, other threads take control and change that same sample vector. And this obviously prevents the former thread to have the correct result. Solution was simple. I removed the shared data and use the sample vector as a local variable inside the function call. Buggy image is shared below.
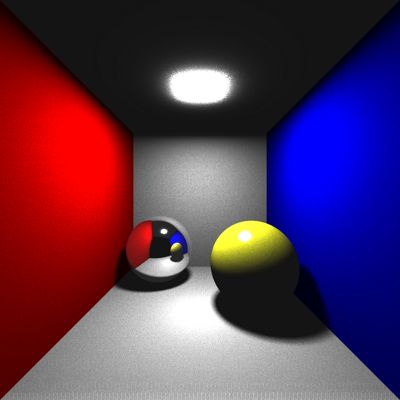
Figure 5.3.1: Arealight race condition
Second one is about environment lights. Just like in the area lights, we need to sample the environment light to find the total contribution. In order to do this, we have to sample a direction for each intersection, and use this direction to find the radiance value coming from the HDR image. While doing this, I got confused about the which coordinate system I should use to fetch color from the image. I was using the u-v-w coordinate system first. This was wrong since at every intersection point I was creating a new coordinate system and then make a lookup from the image. This was wrong since orientation of surface was affecting my lookup which is not meaningful. Radiance coming from the image shouldn’t depend on the normal at the intersection point (Why would environment change when you rotate an object?). You can find the buggy image below.
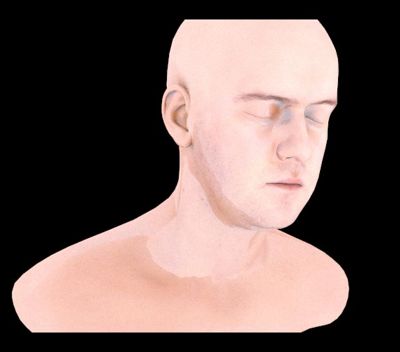
Figure 5.3.2: Environment light wrong lookup
Third one is about tonemapping. I don’t know the reason of this problem because I couldn’t solve it. However, I can tell that this problem is more apparent when the luminance of pixels change severely. For example, when the image has black background, my tonemapper gives brighter results. Here are some buggy images.
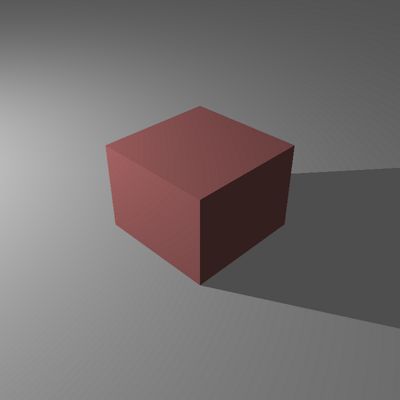
Figure 5.3.3: cube_point_hdr tonemapped
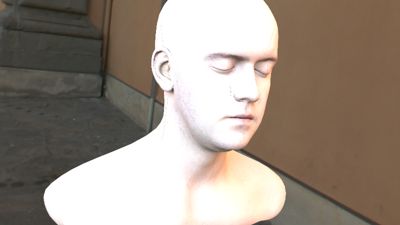
Figure 5.3.4: head_env_light tonemapped
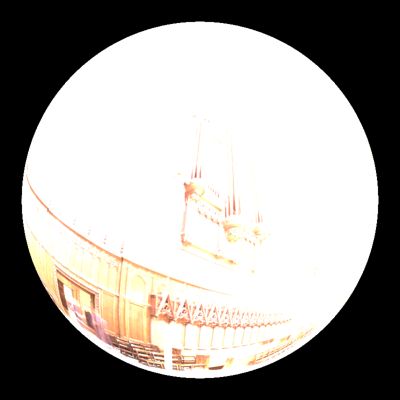
Figure 5.3.5: sphere_point_hdr_texture tonemapped
5.4. Conclusion
After I finished this version, I remembered the first time I had a shadow in my ray tracer months ago. I was so happy to see those shadow lines. And I was amazed that we can simulate such things with our computers. Now, after this version, I feel a little bit different than that. Of course I still get amazed by the results we are getting. However, now I think that we should accomplish much more than we are having now. Of course, I am just beginning to produce some not-so-bad results and I know that I am not an expert. But I’m just saying, I am hungry for more. And when I am done with the final exams of other classes, I will be working on my project even harder.
In the last version, I said that we need directional light in our Moon scene to have a better result. Since we have the support for directional lights, here is the result of the same Moon scene with directional light.
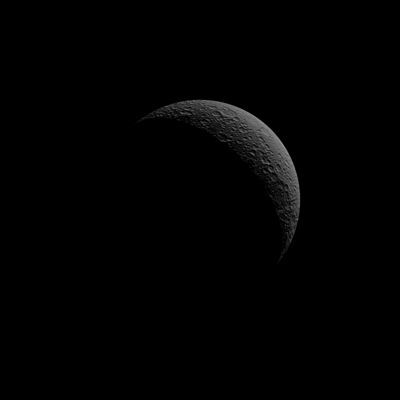
Figure 5.4.1: Moon with directional light